Theme Details
Installation & Updates
Installation
To install Horace, follow these steps:
- Log in to your Ghost Admin at
yoursite.com/ghost. - Click Settings in the bottom left corner.
- In the Site section, click Theme.
- Click Change theme, then Upload theme.
- Drag and drop your theme’s
.zipfile, or click to browse and select it. - Once the upload is complete, click Activate to apply the theme.
Updates
Your purchase includes all future updates for free. We announce new releases in our newsletter, and you can always check the latest version in the changelog.
To update Horace:
- Download the latest
.zipusing the download link from your purchase email. - Log in to your Ghost Admin at
yoursite.com/ghost. - Click Settings in the bottom left corner.
- In the Site section, click Theme.
- Click Change theme, then Upload theme.
- Upload the new
.zip. Ghost will detect the existing version and ask to overwrite it. Confirm to continue. - Click Activate to switch to the new version.
Updating replaces the theme’s files. Anything you added through Code Injection or Ghost settings is safe, but if you’ve edited the theme’s code directly, back up your modified files before updating and reapply your changes afterward.
Getting Started
Publication Icon
A publication icon (favicon) is a square image that appears in browser tabs, bookmarks, and other places where your site is shown. For the best results, use an image at least 60 × 60 px.
To upload it:
- In your Ghost Admin, click Settings in the bottom left corner.
- In the Site section, click Design & branding.
- Click Customize.
- Under Publication icon, click Upload icon and select your image.
- Click Save.

Publication Logo
A publication logo is your site’s main branding image. For the best results, use an image with a transparent background, such as a PNG or SVG.
To add a logo:
- In your Ghost Admin, click Settings in the bottom left corner.
- In the Site section, click Design & branding.
- Click Customize.
- Under Publication logo, click Upload logo and select your image.
- Click Save.

Publication Cover
The publication cover image is used as the background of the homepage hero section and the error pages. For the best results, use a high-resolution landscape image.
To add a publication cover:
- In your Ghost Admin, click Settings in the bottom left corner.
- In the Site section, click Design & branding.
- Click Customize.
- Under Publication cover, click Upload cover and select your image.
- Click Save.

Navigation
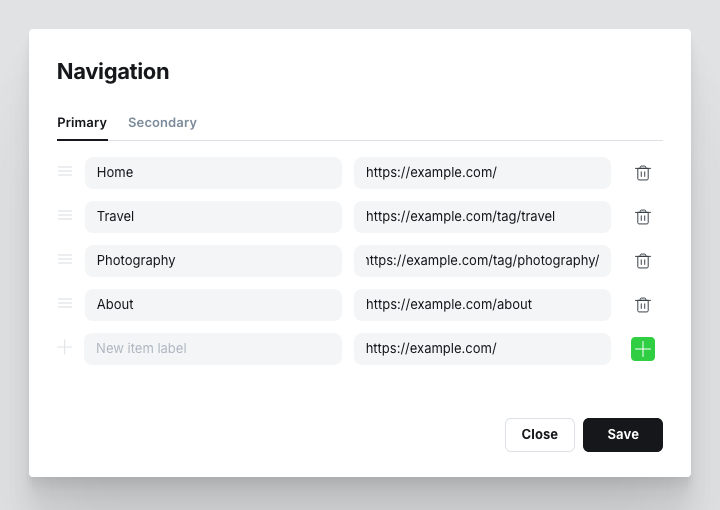
The theme supports both Primary and Secondary navigation. The primary navigation is displayed in the site header, while the secondary navigation is displayed in the footer.
To set up navigation:
- In your Ghost Admin, click Settings in the bottom left corner.
- In the Site section, click Navigation.
- Click Customize.
- Add navigation items by entering a label and its destination URL.
- To configure the secondary navigation, switch to the Secondary tab.
- When you’re finished, click Save.
Social Media Links
Horace supports Ghost’s built-in social links. When configured, they are displayed in the hero section and footer.
To add social media links:
- In your Ghost Admin, click Settings in the bottom left corner.
- In the General settings section, click Social accounts.
- Enter the URLs for your social profiles.
- Click Save.

Need more social links? Ghost includes built-in fields for only a small number of social accounts. To add links to other social platforms, you will need to customize the theme. You can either download, edit, and upload the theme again, or make the changes directly in the Theme Editor. See Making Theme Customization Easier with Ghost’s Theme Editor for more detailed instructions.
Sidebar
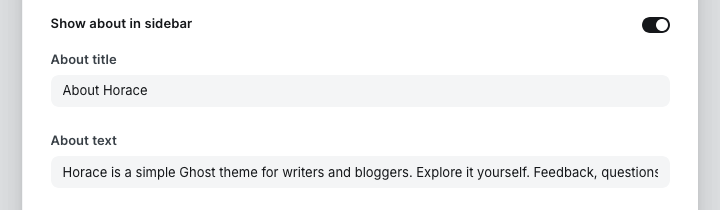
The theme sidebar includes the site navigation menu (on small screens), an About section, Recent posts, and a Tag cloud.
To enable, disable, or edit the About section:
- In your Ghost Admin, click Settings in the bottom left corner.
- In the Site section, click Design & branding.
- Click Customize.
- Switch to the Theme tab.
- Turn the Show about in sidebar option on or off.
- If enabled, enter the title and description for the section.
- Click Save.
Copyright Information (Footer)
You can customize the copyright text displayed in the footer directly from Ghost Admin.
- In your Ghost Admin, click Settings in the bottom left corner.
- In the Site section, click Design & branding.
- Click Customize.
- Switch to the Theme tab.
- Enter the text in the Copyright text field.
- Click Save.

Content & Pages
Homepage Hero
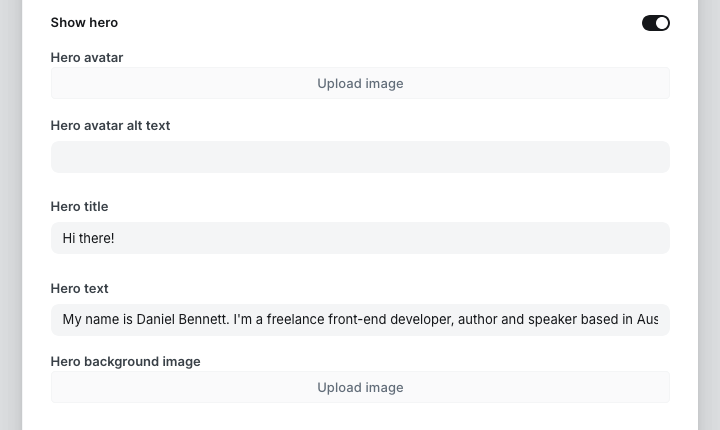
The homepage hero section can be enabled, disabled, and customized from Ghost Admin.
To configure the hero section:
- In your Ghost Admin, click Settings in the bottom left corner.
- In the Site section, click Design & branding.
- Click Customize.
- Switch to the Theme tab.
- Scroll down to the Homepage section and turn the Show hero option on or off.
- If enabled, enter the hero text and upload the avatar and background images.
- Click Save.
Featured Posts
Featured posts are displayed in a dedicated section above the regular post feed on the homepage, using a larger layout to make them stand out.
To include a post in this section, mark it as Featured in the post settings.
Landing Page
Ghost lets you create custom landing pages without writing any code. By hiding the default page title and feature image, you can build completely custom layouts using the Header card and other cards available in the Ghost editor.
To hide the page title and feature image:
- Open the page in the Ghost Editor.
- Open Page settings.
- Turn off the Show title and feature image toggle.

This is ideal for creating landing pages, FAQ pages, about pages, or any page with a custom design.
Membership
Members
Ghost’s built-in Members feature lets you turn your site into a membership business with member signups, paid subscriptions, and email newsletters.
When Members is enabled, Subscribe and Sign in links appear in the header and sidebar, connecting visitors directly to the Ghost Members Portal.
You can also display a small lock icon next to posts with Post access set to anything other than Public, making it easy for visitors to identify member-only content.
To enable the post lock icon:
- In your Ghost Admin, click Settings in the bottom left corner.
- In the Site section, click Design & branding.
- Click Customize.
- Switch to the Theme tab.
- Turn on the Show post lock icon option.
- Click Save.

Comments
Horace supports Ghost’s native commenting system.
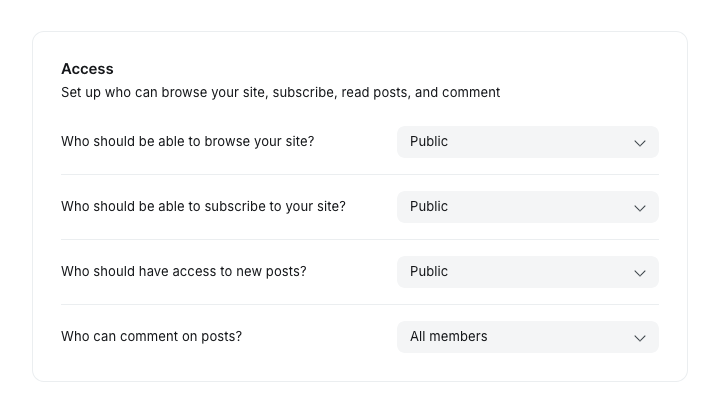
To enable comments:
- In your Ghost Admin, click Settings in the bottom left corner.
- In the Membership section, click Access.
- Select the desired option from the Who can comment on posts? dropdown.
- Click Save.
Customization
Accent Color
To change the theme accent color:
- In your Ghost Admin, click Settings in the bottom left corner.
- In the Site section, click Design & branding.
- Click Customize.
- Choose your color.
- Click Save.
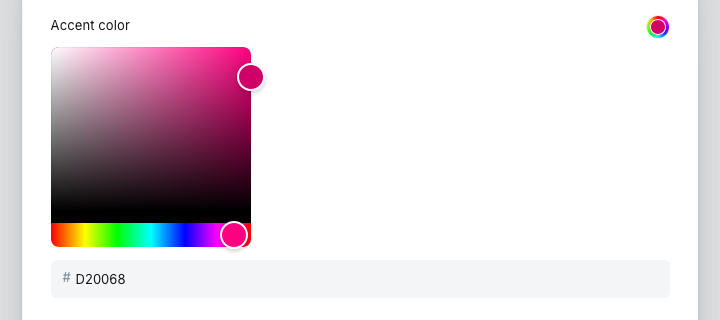
The default accent color for Horace is #D20068.
Posts Per Page Number
By default, Horace displays 8 posts per page. To change this, edit the posts_per_page setting in the theme’s package.json file. For example, to display 10 posts per page:
"config": {
  "posts_per_page": 10
}
Save the file and upload the updated theme.
Alternatively, you can change this setting directly in the Theme Editor. See Making Theme Customization Easier with Ghost’s Theme Editor for step-by-step instructions.
Theme Translation
Horace is translation-ready and includes all theme text in the locales folder.
To add a new language:
- Copy
locales/en.jsontolocales/[language_code].json, replacing[language_code]with a valid language code. - Open the new file in any plain text editor.
- Translate the text values while keeping the JSON structure and keys unchanged.
- Upload the updated theme.
If your publication is in English, you can still customize any built-in theme text by editing locales/en.json. This lets you change labels, buttons, and other interface text without modifying the theme templates.
For more information about theme translations, see the Ghost translation documentation.
Custom Styles
Use Code Injection to add custom CSS without editing the theme files. Place your CSS rules in the Site Header field.
To add custom styles:
- In your Ghost Admin, click Settings in the bottom left corner.
- In the Advanced section, click Code injection.
- Click Open.
- Add your CSS inside the Site Header field using
<style>tags. - Click Save.
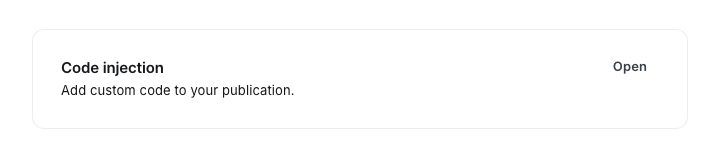
For example, to make all headings semibold, add the following CSS:
<style>
  :is(h1, h2, h3, h4, h5, h6) {
    font-weight: 600;
  }
</style>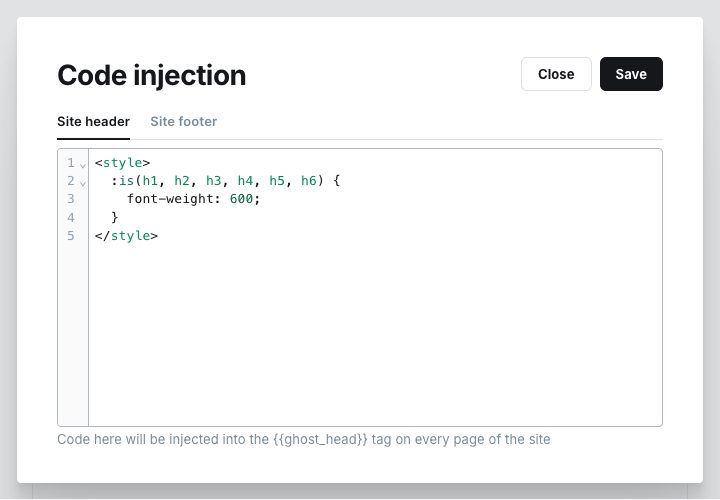
You can replace the example with your own CSS to customize the appearance of the theme.
Credits
- Karla font: https://fonts.google.com/specimen/Karla
- Reframe.js: https://github.com/yowainwright/reframe.js
- Simple Icons: https://simpleicons.org/
- SimpleLightbox: https://github.com/andreknieriem/simplelightbox
Support
Didn’t find what you were looking for? Email us at support@justgoodthemes.com and we’ll be happy to help.
Bug reports and feature requests are welcome too. Hearing how you use Horace is what makes the theme better.