Forma Documentation
- Ghost version: 6.x
- Theme version: 5.1.0
- Last updated:
First of all a huge thanks for purchasing this theme! If you have any questions that are not answered here, please feel free to contact us via email.
Theme Installation
To install Forma, follow these steps:
- Log in to your Ghost Admin at
yoursite.com/ghost. - In the left sidebar, go to Settings → Theme.
- Click on Change theme.
- Click on Upload theme.
- Drag and drop your theme’s
.zipfile, or click to browse and select it. - Once the upload is complete, click Activate to apply the theme immediately, or Close to activate it later.
Getting Started
Uploading a Favicon
To add a favicon:
- Navigate to Settings → Design & branding in your Ghost Admin.
- Click on Customize.
- Click Upload icon next to Publication icon.
- Save changes.
![]()
Uploading a Publication Logo
To add a logo:
- Navigate to Settings → Design & branding in your Ghost Admin.
- Click on Customize.
- Click Upload logo next to Publication logo.
- Save changes.
![]()
Adding Navigation
The theme supports both primary and secondary navigation menus. The primary navigation appears in the slide-out sidebar, while the secondary navigation is displayed in the footer.
To set up navigation:
- Go to Settings → Navigation in your Ghost Admin.
- Click on Customize.
- Add your navigation items by entering a page name in the label field and a destination URL in the URL field.
- Once finished, click Save.

Editing Section Above the Posts
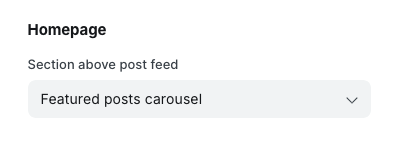
Forma lets you display either the intro section or a featured posts carousel above the post feed. You can also hide this section entirely and show only the post feed.
To switch between the available variations:
- Navigate to Settings → Design & branding in your Ghost Admin.
- Click on Customize.
- Switch to the Theme tab.
- Scroll down to the Homepage section and select an option from the Section above post feed dropdown.
- If the Intro section option is selected, fill in the additional fields that appear, such as the title and text.
- Save changes.
Changing Post Layout
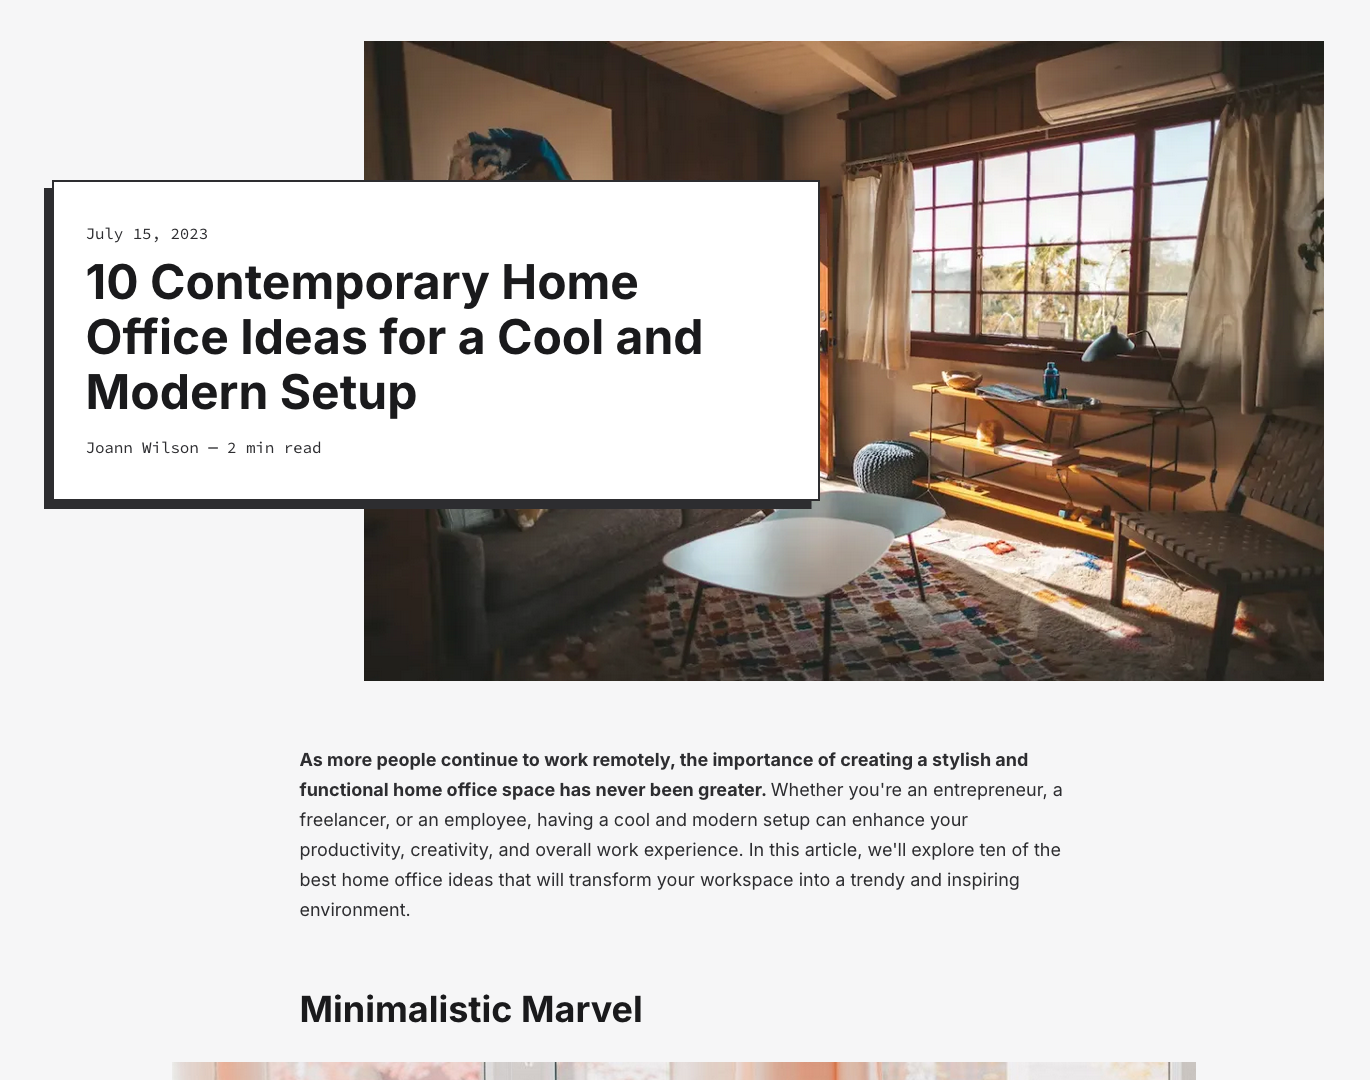
There are two post layouts available. The default post layout is more suitable for a horizontal feature image, and the alternative post layout for a vertical feature image.
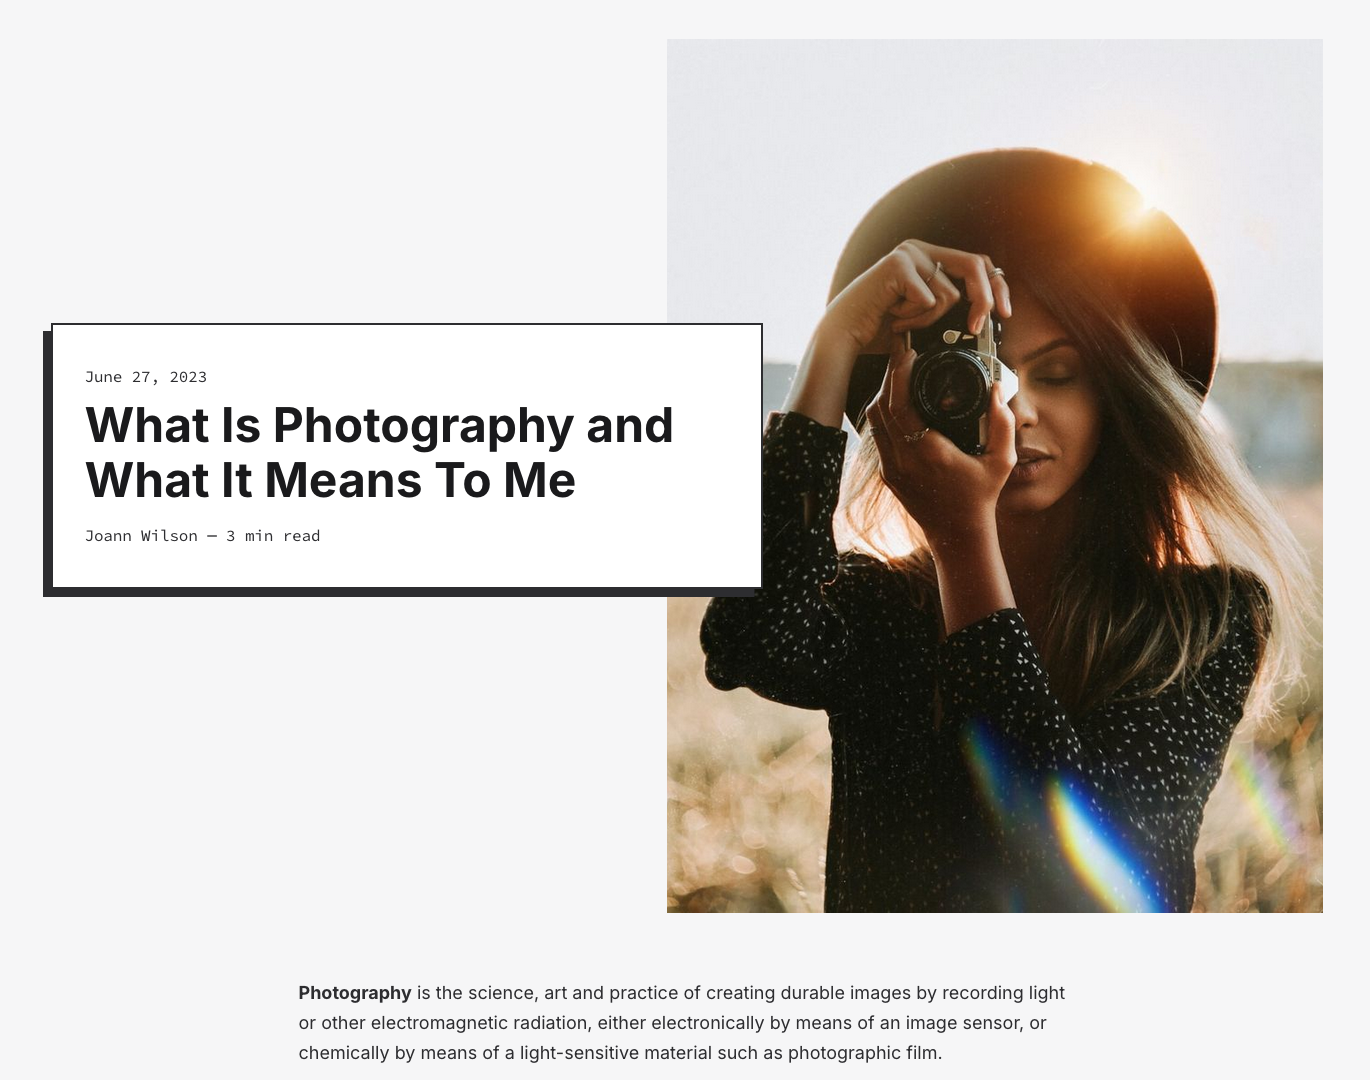
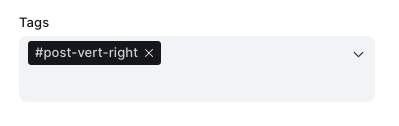
To set the alternative post layout, add the internal tag #post-vert-right to your post:
Using Custom Page Templates
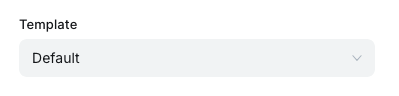
Forma has two custom page templates: Authors and Tags.
The Authors template lists all of your site staff members ordered by post count, and the Tags pages lists all tags used throughout the posts.
To set the page template, open the Page Settings and select the suitable option from the Template dropdown.
Creating Landing Page
Ghost allows you to remove the title and feature image from a page. Then, using Header and other cards you can create a unique look for your pages without having to know how to code.
To hide the title and feature image from a page, open the Page Settings and turn off the Show title and feature image toggle.

Members
Ghost members feature allows you to turn your site into a membership business with member signup, paid subscriptions and email newsletters.
If members feature is enabled on your site, the theme displays Subscribe and Sign in links in the header and slide-out sidebar (on small screens). When clicked, these links open the Ghost members portal.
Enabling Comments
Forma supports Ghost native comments. To enable the comments:
- Navigate to Settings → Access in your Ghost Admin.
- Select the suitable option from the Who can comment on posts? dropdown.
- Save changes.

Adding Social Media Links
The social media links are displayed in the footer of the theme.
To add social media links:
- Navigate to Settings → General in your Ghost admin.
- Click Expand next to Social accounts.
- Enter the URLs of your social profiles.
- Save changes.

Editing Copyright Information (Footer)
You can edit the copyright information in Ghost Admin.
- Navigate to Settings → Design & branding in your Ghost Admin.
- Click on Customize.
- Switch to the Theme tab.
- Enter the text in the Copyright text field.
- Save changes.
Adding Google Analytics
To add Google Analytics to your site, please follow the Google Analytics Integration guide by Ghost.
Theme Customization
Changing Color Scheme
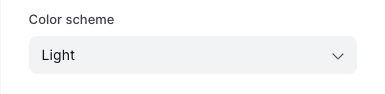
Forma is available in light and dark color schemes. To change the theme color scheme:
- Navigate to Settings → Design & branding in your Ghost Admin.
- Click on Customize.
- Switch to the Theme tab.
- Select the option from the Color scheme dropdown.
- Save changes.
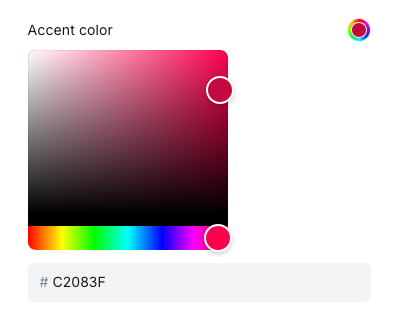
Changing Accent Color
To change the theme accent color:
- Navigate to Settings → Design & branding in your Ghost admin.
- Switch to the Brand tab.
- Choose your color.
- Save changes.
Changing Posts Per Page Number
You can set the number of post displayed per page in the package.json file of the theme. The default post number is set to 8:
"config": {
    "posts_per_page": 6
}
Theme Translation
The Forma theme is ready for translations. You can find the default file in the locales folder. Copy locales/en.json to locales/[language_code].json where “language_code” must be replaced with a valid code. You can edit the renamed translation file with any plain text editor.
Even if your site is in English, you can customize any theme texts by simply editing the default English file ( locales/en.json ), without modifying the theme templates.
You can find more information on how to translate the theme in Ghost documentation.
Adjusting Style
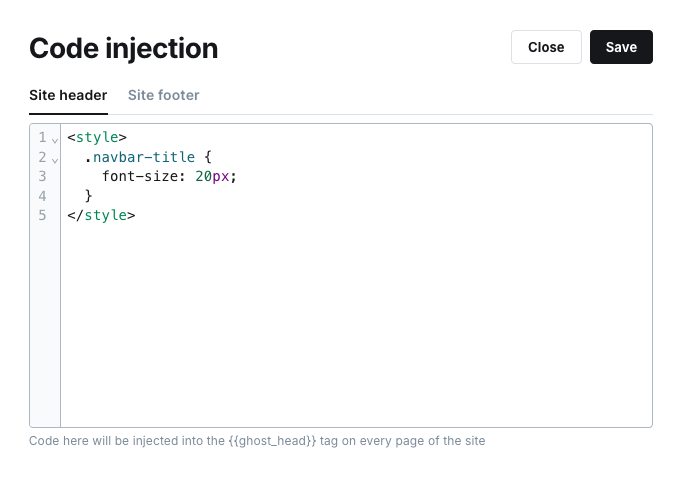
To customize the theme style, use the Code Injection tool and place your CSS rules in the Site Header field.
For instance, to adjust the site title size:
- Navigate to Settings → Code injection in your Ghost admin.
- Click on Open.
- Add the necessary CSS rules to the Site header field.
- Save changes.
Credits
- Inter font: https://fonts.google.com/specimen/Inter
- Source Code Pro font: https://fonts.google.com/specimen/Source+Code+Pro
- Simple icons: https://simpleicons.org/
- Reframe.js plugin: https://github.com/dollarshaveclub/reframe.js
- Swiper plugin: https://swiperjs.com/
- SimpleLightbox plugin: https://simplelightbox.com/
- imagesLoaded plugin: https://imagesloaded.desandro.com/
- Masonry plugin: https://masonry.desandro.com
Support
The documentation included provides all the information needed to get the theme installed and customized. However, if you have any questions you can email us at support@justgoodthemes.com, and we will be happy to help you.
If you have any bug reports, or feature requests, please let us know!
Updates
As Ghost platform grows, so will this theme. We’re dedicated to keeping our Forma up to date.